How to adjust the zero point of a capacitive water level gauge?
Leave a message
Hey there! As a supplier of Capacitive Water Level Gauges, I often get asked about how to adjust the zero point of these nifty devices. So, I thought I'd put together this blog post to share some tips and tricks on the topic.
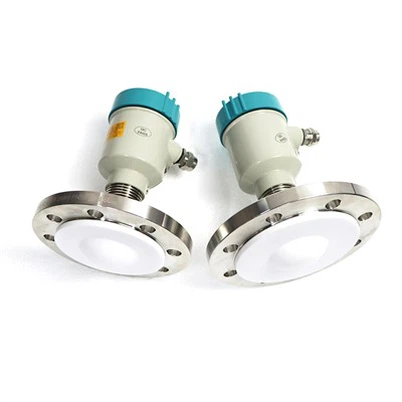
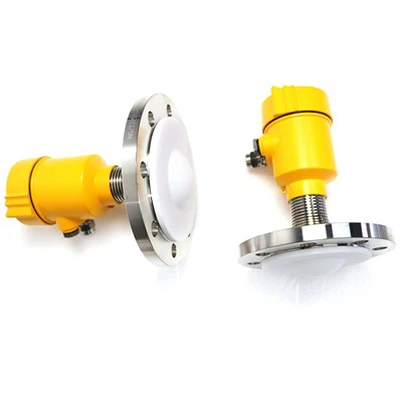
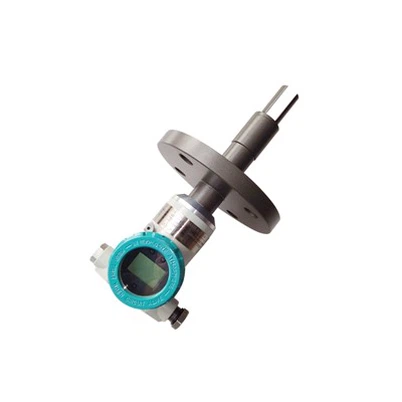
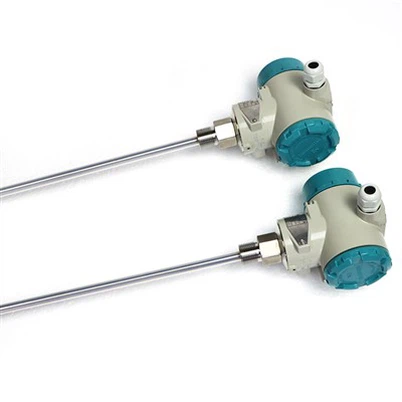
First off, let's talk a bit about what a capacitive water level gauge is. It's a type of sensor that measures the level of water in a tank or container by detecting changes in capacitance. Capacitance is basically the ability of a system to store an electric charge. In the case of a capacitive water level gauge, the presence of water changes the capacitance between the sensor electrodes, and this change is used to determine the water level.
Now, why is adjusting the zero point important? Well, the zero point is the level at which the gauge reads zero. If the zero point is not set correctly, the gauge will give inaccurate readings. For example, if the zero point is set too high, the gauge will show a lower water level than there actually is. On the other hand, if the zero point is set too low, the gauge will show a higher water level. So, getting the zero point right is crucial for accurate level measurement.
Step 1: Prepare the Gauge
Before you start adjusting the zero point, make sure the capacitive water level gauge is properly installed in the tank or container. It should be positioned vertically and securely mounted to ensure accurate readings. Also, check that all the connections are tight and there are no loose wires.
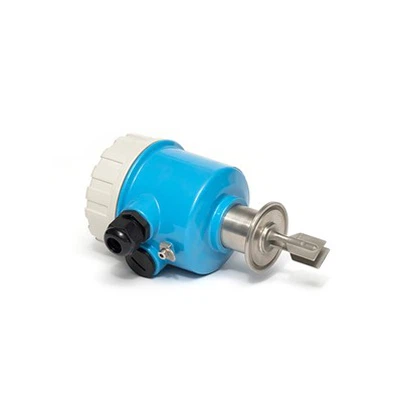
You can refer to our Capacitive liquid level sensor for liquid level monitoring for more information on the installation process and the features of our sensors.
Step 2: Empty the Tank
The next step is to empty the tank completely. This is important because you want to set the zero point when there is no water in the tank. Make sure all the water has been drained out and there are no residual droplets on the sensor.
Step 3: Access the Zero Point Adjustment
Most capacitive water level gauges come with a zero point adjustment feature. This can usually be accessed through a calibration menu on the gauge's display or by using a potentiometer or a set of buttons on the gauge itself. Refer to the user manual of your specific gauge to find out how to access the zero point adjustment.
Step 4: Set the Zero Point
Once you've accessed the zero point adjustment, follow the instructions in the user manual to set the zero point. This usually involves pressing a button or turning a potentiometer until the gauge reads zero. Make sure to take your time and make small adjustments to get an accurate zero point.
Step 5: Verify the Zero Point
After setting the zero point, it's a good idea to verify it. Fill the tank with a small amount of water and check if the gauge reads the correct level. If the reading is off, you may need to go back and adjust the zero point again.
Step 6: Fine-Tuning
Sometimes, you may need to fine-tune the zero point. This can be done by adding or removing a small amount of water from the tank and adjusting the zero point accordingly. Keep making small adjustments until you get an accurate reading.
Troubleshooting
If you're having trouble adjusting the zero point, here are some common issues and solutions:
- Inaccurate Readings: If the gauge is giving inaccurate readings even after adjusting the zero point, check for any electrical interference or a damaged sensor. Make sure the sensor is clean and free from any debris.
- Difficult to Access the Zero Point Adjustment: If you're having trouble accessing the zero point adjustment, double-check the user manual. You may need to use a special tool or follow a specific sequence of buttons to access the calibration menu.
- Sensor Not Working: If the sensor is not working at all, it may be damaged. Contact our customer support team for assistance. You can learn more about our Capacitive water level sensor and its features to see if it meets your requirements.
Conclusion
Adjusting the zero point of a capacitive water level gauge is not that difficult if you follow the steps outlined above. Remember to take your time, follow the user manual, and verify the zero point to ensure accurate level measurement.
At our company, we offer a wide range of high-quality Capacitive liquid level detection instrument that are easy to install and calibrate. If you have any questions about our products or need help with adjusting the zero point of your gauge, don't hesitate to contact us. We're here to help you get the most accurate level measurements possible.


If you're interested in purchasing our capacitive water level gauges or have any other inquiries, feel free to reach out to us. We're always happy to have a chat and discuss your specific needs.
References
- Manufacturer's user manual for capacitive water level gauges.
- Industry standards and best practices for level measurement.