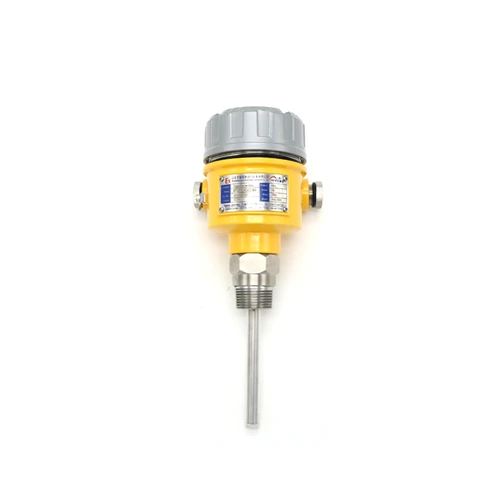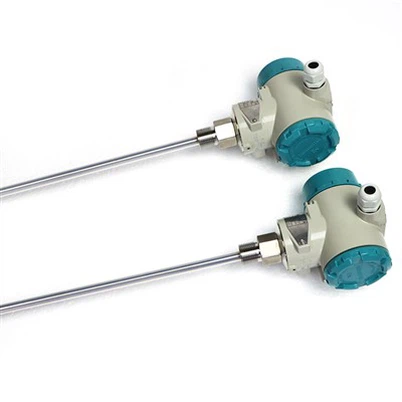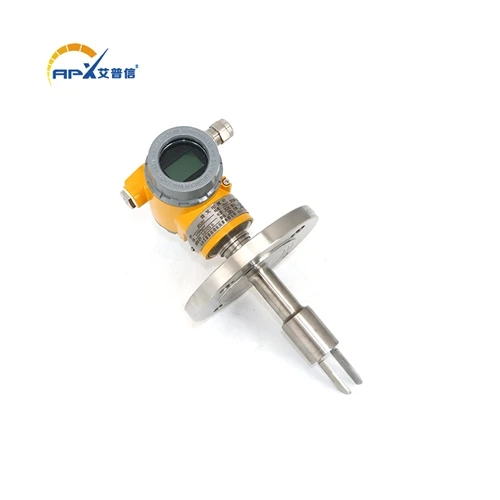

How to troubleshoot an ultrasonic in-line density meter when it gives inaccurate readings?
Leave a message

In the industrial realm, an ultrasonic in-line density meter is a crucial instrument for measuring the density of various substances in real-time during the production process. However, inaccurate readings can occur, which may disrupt production and affect product quality. As a professional in-line density meter supplier, I'll share some practical troubleshooting steps to address this issue.

Understanding the Basics of Ultrasonic In - line Density Meters
Before diving into troubleshooting, it's essential to understand how ultrasonic in - line density meters work. These meters operate on the principle that the propagation speed of ultrasonic waves in a medium is related to the density of that medium. By measuring the time it takes for an ultrasonic wave to travel through the substance flowing in the pipeline, the density can be calculated.
Common Causes of Inaccurate Readings
1. Installation Issues
- Improper Pipe Placement: If the meter is not installed in a straight section of the pipe, the flow pattern of the fluid may be disrupted. Turbulence can cause inconsistent ultrasonic wave propagation, leading to inaccurate density measurements. For example, if there are elbows, valves, or tees too close to the meter installation point, the fluid may not flow smoothly, and the ultrasonic waves can be scattered.
- Incorrect Mounting Orientation: Some ultrasonic in - line density meters are designed to be mounted in a specific orientation. Mounting the meter upside - down or at an incorrect angle can affect the accuracy of the measurement. This is because the ultrasonic transducers need to be in the correct position relative to the fluid flow to ensure proper wave transmission and reception.
2. Fluid Properties
- Viscosity Changes: High - viscosity fluids can slow down the propagation of ultrasonic waves. If the viscosity of the fluid being measured changes during the production process, the density reading may become inaccurate. For instance, in a chemical process where the reaction causes an increase in the viscosity of the product, the meter may not account for this change correctly.
- Presence of Bubbles or Solids: Bubbles in the fluid can scatter ultrasonic waves, reducing the signal strength and causing inaccurate density readings. Similarly, solid particles in the fluid can also interfere with the ultrasonic wave propagation. In a food processing plant, for example, if there are undissolved solids in a liquid product being measured, the density meter may give incorrect results.
3. Sensor Malfunctions
- Transducer Damage: The ultrasonic transducers are the key components of the density meter. Physical damage to the transducers, such as cracks or scratches, can affect their ability to emit and receive ultrasonic waves. This can lead to weak or inconsistent signals, resulting in inaccurate density measurements.
- Electrical Issues: Problems with the electrical connections between the transducers and the meter's electronics can also cause inaccurate readings. Loose wires, corroded terminals, or faulty circuit boards can disrupt the signal processing and lead to incorrect density values.
4. Environmental Factors
- Temperature Variations: Temperature can have a significant impact on the density of a fluid and the propagation speed of ultrasonic waves. If the temperature of the fluid or the surrounding environment changes significantly, the density meter may need to be compensated for these changes. Failure to do so can result in inaccurate readings. For example, in an outdoor industrial setting, seasonal temperature changes can affect the performance of the density meter.
- Vibrations: Excessive vibrations in the pipeline or the surrounding area can interfere with the operation of the ultrasonic in - line density meter. Vibrations can cause the transducers to move slightly, altering the path of the ultrasonic waves and leading to inaccurate density measurements.
Troubleshooting Steps
Step 1: Check the Installation
- Verify Pipe Placement: Inspect the installation location of the meter. Ensure that it is installed in a straight section of the pipe, at least 5 - 10 pipe diameters away from any elbows, valves, or tees. If necessary, relocate the meter to a more suitable position.
- Confirm Mounting Orientation: Refer to the meter's installation manual to check if it is mounted in the correct orientation. Make any necessary adjustments to ensure proper alignment.
Step 2: Examine the Fluid
- Check for Viscosity Changes: If possible, measure the viscosity of the fluid using a separate viscometer. Compare the measured viscosity with the expected value. If there are significant viscosity changes, consult the meter's user manual to see if there are any compensation methods available.
- Look for Bubbles and Solids: Inspect the fluid visually or use a sampling method to check for the presence of bubbles or solids. If bubbles are present, try to remove them by using a degassing device. If solids are the issue, consider installing a filter upstream of the density meter to remove the particles.
Step 3: Inspect the Sensor
- Check for Transducer Damage: Visually inspect the ultrasonic transducers for any signs of physical damage. If damage is detected, replace the transducers according to the manufacturer's instructions.
- Test the Electrical Connections: Use a multimeter to check the electrical connections between the transducers and the meter's electronics. Ensure that all wires are properly connected and that there are no signs of corrosion or loose connections. If necessary, clean the terminals or replace any faulty wires.
Step 4: Account for Environmental Factors
- Monitor Temperature: Install a temperature sensor near the density meter to monitor the fluid temperature. Use the meter's temperature compensation function to adjust the density readings based on the measured temperature. If the meter does not have a built - in temperature compensation function, consult the manufacturer for possible solutions.
- Reduce Vibrations: If vibrations are an issue, install vibration - damping materials on the pipeline or the meter mounting bracket. This can help reduce the impact of vibrations on the meter's performance.
Related Products
If you are looking for alternative density measurement solutions, we also offer a range of other in - line density meters. For measuring the density of alcohol, our [Alcohol meter](in - line - density - meter/online - alcohol - density - meter.html) provides accurate and reliable results. Our [Cable type split tuning fork density meter](in - line - density - meter/split - online - tuning - fork - density - meter.html) is suitable for applications where a split design is required. And for the chemical industry's automated production, our [Tuning fork densitometer for automated production in the chemical industry](in - line - density - meter/anti - corrosion - online - tuning - fork - density.html) offers anti - corrosion features and high - precision measurements.
Conclusion
Inaccurate readings from an ultrasonic in - line density meter can be caused by a variety of factors, including installation issues, fluid properties, sensor malfunctions, and environmental factors. By following the troubleshooting steps outlined above, you can identify and resolve many of these problems. If you continue to experience issues with your density meter, or if you are interested in upgrading or purchasing a new in - line density meter, please feel free to contact us for further assistance and to discuss your specific requirements. We are committed to providing high - quality products and excellent customer service to meet your industrial measurement needs.

References
- Manufacturer's manuals for ultrasonic in - line density meters
- Industrial process control textbooks on fluid measurement and instrumentation
- Technical papers on ultrasonic wave propagation in fluids and its relation to density measurement