
How to troubleshoot a faulty capacitive level sensor?
Leave a message

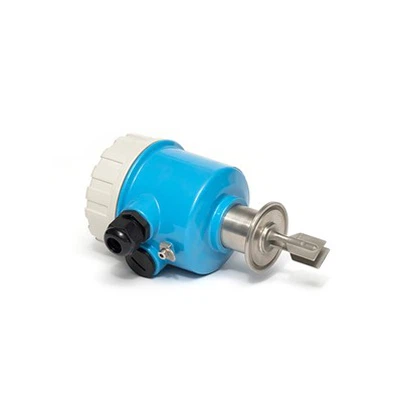
Hey there! As a supplier of capacitive level sensors, I've seen my fair share of issues pop up with these nifty devices. Capacitive level sensors are super useful in a bunch of industries for measuring the level of liquids or solids in tanks and containers. But like any piece of equipment, they can sometimes act up. In this blog, I'm gonna walk you through how to troubleshoot a faulty capacitive level sensor.
Understanding Capacitive Level Sensors
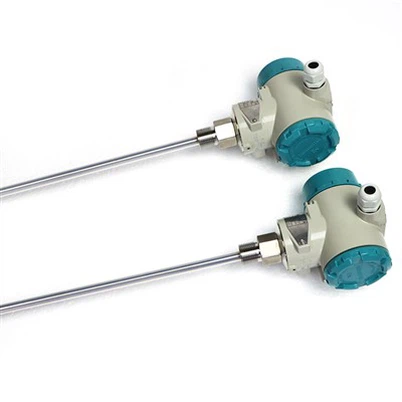
Before we dive into troubleshooting, let's quickly go over how capacitive level sensors work. These sensors operate based on the principle of capacitance. Capacitance is the ability of a system to store an electric charge. In a capacitive level sensor, a probe is placed in the tank or container. The probe and the surrounding material (liquid or solid) form a capacitor. As the level of the material in the tank changes, the capacitance between the probe and the material also changes. The sensor then measures this change in capacitance and converts it into a level measurement.
Common Symptoms of a Faulty Capacitive Level Sensor
The first step in troubleshooting is to figure out if your sensor is actually faulty. Here are some common symptoms that might indicate a problem:
- Inaccurate Readings: This is probably the most obvious sign. If the level readings you're getting from the sensor don't match the actual level in the tank, something's up.
- No Readings at All: If the sensor isn't showing any readings, it could be due to a power issue, a damaged cable, or a problem with the sensor itself.
- Erratic Readings: If the readings are jumping around or fluctuating wildly, it could be because of electrical interference, a dirty probe, or a problem with the sensor's electronics.
Troubleshooting Steps
Step 1: Check the Power Supply
The first thing you should do is make sure the sensor is getting power. A lot of sensor problems can be traced back to a simple power issue. Check the power cable for any signs of damage, like cuts or frayed wires. Make sure the power supply is set to the correct voltage and that it's working properly. A multimeter can come in handy here to measure the voltage at the sensor's power input.
Step 2: Examine the Probe
The probe is a crucial part of the capacitive level sensor. Over time, it can get dirty or coated with the material it's measuring. This can affect the sensor's ability to accurately measure capacitance. Take a look at the probe and see if it's dirty or has any build - up. If it does, clean it carefully using a suitable cleaning agent. Make sure not to damage the probe during the cleaning process.
Another thing to check is the physical condition of the probe. Look for any signs of damage, like cracks or bends. A damaged probe can cause inaccurate readings or no readings at all. If you find any damage, you might need to replace the probe.
Step 3: Inspect the Cable
The cable that connects the sensor to the control system can also cause problems. Check the cable for any signs of damage, such as cuts, abrasions, or loose connections. A damaged cable can lead to signal loss or interference, which can result in inaccurate readings. If you find any issues with the cable, replace it with a new one.
Step 4: Look for Electrical Interference
Electrical interference can cause erratic readings in capacitive level sensors. This interference can come from nearby electrical equipment, such as motors, transformers, or power lines. Try to identify any potential sources of interference and move the sensor away from them if possible. You can also use shielded cables to reduce the effects of interference.
Step 5: Check the Sensor Settings
Sometimes, the problem might not be with the sensor hardware at all. It could be due to incorrect settings. Make sure the sensor is configured correctly for the type of material you're measuring and the tank or container it's installed in. Check the sensitivity settings, the output range, and any other relevant parameters. Refer to the sensor's manual for instructions on how to adjust these settings.
Specific Troubleshooting for Different Applications
Oil - Water Interface Measurement
If you're using a Oil - water Interface Meter and experiencing problems, there are a few additional things to consider. The presence of emulsions or contaminants in the oil - water mixture can affect the sensor's accuracy. Try to sample the mixture and check for any signs of emulsification or contamination. If necessary, you might need to use a filter or a separator to clean the mixture before measuring.
Solids Level Measurement
When measuring the level of solids, issues like bridging or rat holing can occur. Bridging is when a solid material forms an arch or bridge over the sensor probe, preventing it from getting an accurate reading. Rat holing is when the material forms a hole around the probe, causing the sensor to give false low readings. To address these issues, you might need to install agitation devices or use different probe designs.
Continuous Liquid Level Measurement
For Capacitive liquid level sensor for continuous measurement of liquid level, problems can arise due to changes in the liquid's properties, such as temperature, density, or conductivity. Make sure the sensor is calibrated for the specific properties of the liquid you're measuring. If the liquid properties change significantly, you might need to recalibrate the sensor.
Using RF Level Switches
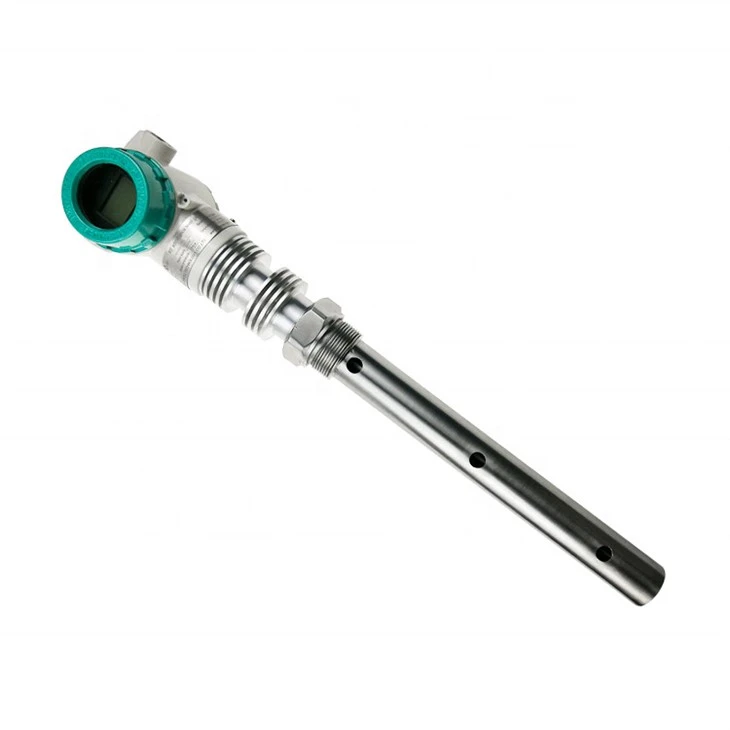
RF level switches, like the ones in our RF level switch range, can also experience problems. These switches are often used for point level detection. If the switch is not triggering correctly, check the sensitivity settings. You might need to adjust the threshold level at which the switch activates. Also, make sure the switch is installed at the correct height in the tank.
When to Seek Professional Help
If you've gone through all the troubleshooting steps and still can't fix the problem, it might be time to seek professional help. As a supplier, we have a team of experts who can provide technical support and assistance. We can also offer replacement parts or even upgrade your existing sensor if necessary.

Conclusion
Troubleshooting a faulty capacitive level sensor can seem daunting at first, but by following these steps, you can often identify and fix the problem yourself. Remember to always refer to the sensor's manual for specific instructions and safety guidelines. If you're in the market for a new capacitive level sensor or are having issues with your current one, feel free to reach out for more information. Our team is here to help you find the best solution for your level measurement needs. Whether you need a simple sensor for a small project or a complex system for a large industrial application, we've got you covered. Let's connect and discuss how we can meet your requirements!
References
- "Capacitive Level Sensor Handbook" - Manufacturer's Manual
- Industry Research on Level Measurement Devices