
How to install a capacitive water level gauge in a PVC tank?
Leave a message

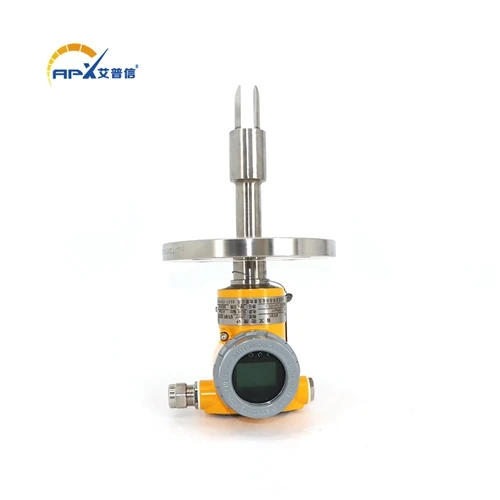
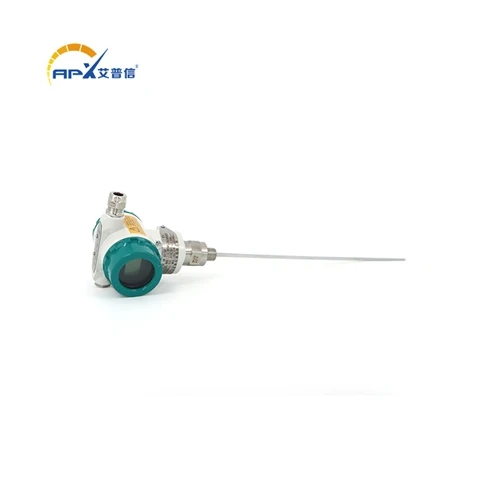
Hey there! I'm a supplier of Capacitive Water Level Gauges, and I'm stoked to share with you how to install one in a PVC tank. Whether you're using it for your home water storage or in an industrial setting, a capacitive water level gauge can be a game - changer in keeping tabs on your water levels.


Why a Capacitive Water Level Gauge?
Before we dive into the installation process, let's quickly chat about why you'd want a capacitive water level gauge. These gauges are super accurate. They work based on the principle of capacitance, which means they can detect even the slightest changes in the water level. They're also non - intrusive, so you don't have to worry about them getting damaged by the water or any debris in it. Plus, they're low - maintenance, and they have a long lifespan.
If you're interested in other related products, check out our Oil - water Interface Meter, which is great for separating oil and water in a tank, or our Capacitive liquid level sensor for liquid level monitoring, which is another option for keeping an eye on your liquids.
Tools and Materials You'll Need
First things first, gather all the tools and materials you'll need for the installation. Here's a list:
- Capacitive water level gauge (obviously!)
- PVC glue
- Measuring tape
- Drill with appropriate drill bits
- Screwdriver
- Electrical wires
- Wire connectors
Step 1: Choose the Right Location
The first step in installing your capacitive water level gauge is to choose the right location on the PVC tank. You want to pick a spot that's easily accessible for both installation and future maintenance. It should also be away from any potential sources of interference, like large metal objects or electrical equipment.
Measure the height of the tank and decide where you want the gauge to be placed. Typically, it's a good idea to install it near the top of the tank, so you can get an accurate reading of the water level from the start. Use your measuring tape to mark the spot on the tank.
Step 2: Prepare the Tank
Once you've marked the spot, it's time to prepare the tank for the installation. If you're installing the gauge on the outside of the tank, you'll need to clean the area where you'll be attaching it. Use a clean cloth to wipe away any dirt, dust, or grease. This will ensure that the gauge adheres properly.
If you're installing the gauge on the inside of the tank, you'll need to drill a hole for the sensor. Make sure you use the right drill bit for PVC. Drill the hole carefully, following the instructions that came with your gauge. After drilling, clean out any PVC shavings from the hole.
Step 3: Install the Sensor
Now it's time to install the sensor. If you're using an external sensor, apply a small amount of PVC glue to the back of the sensor and press it firmly onto the marked spot on the tank. Hold it in place for a few minutes to let the glue set.
If you're using an internal sensor, insert it through the hole you drilled earlier. Make sure it's inserted all the way and is sitting snugly. You may need to use a screwdriver to tighten any screws or fasteners that come with the sensor to secure it in place.
Step 4: Connect the Wires
After the sensor is installed, it's time to connect the wires. Most capacitive water level gauges come with a set of electrical wires that need to be connected to the control unit. First, identify the positive and negative wires. Usually, the positive wire is red, and the negative wire is black.
Use your wire connectors to connect the wires from the sensor to the corresponding terminals on the control unit. Make sure the connections are tight and secure. You don't want any loose connections, as this can affect the accuracy of the gauge.
Step 5: Mount the Control Unit
The control unit is where you'll be able to read the water level. Find a suitable location to mount it. It should be within reach of the sensor wires and in a place where you can easily see the display. You can use screws or adhesive to mount the control unit on a wall or a nearby surface.
Step 6: Test the Gauge
Once everything is installed and connected, it's time to test the gauge. Fill the tank with a small amount of water and watch the display on the control unit. You should see the water level being accurately displayed. If you don't see a reading or if the reading is inaccurate, double - check all your connections and make sure the sensor is installed correctly.
If you're still having issues, you can check out our Capacitive liquid level detection instrument for more information on troubleshooting.
Step 7: Maintenance
After successful installation and testing, it's important to keep up with maintenance. Periodically check the connections to make sure they're still tight. Clean the sensor and the control unit with a dry cloth to remove any dust or debris. This will help ensure that your capacitive water level gauge continues to work accurately for a long time.
Conclusion
Installing a capacitive water level gauge in a PVC tank isn't as hard as it might seem. With the right tools, a little bit of patience, and following these steps, you'll have your gauge up and running in no time.
If you're in the market for a high - quality capacitive water level gauge or any of our other related products, I'd love to chat with you. Whether you have questions about the installation process, need help choosing the right product for your needs, or are ready to place an order, don't hesitate to reach out. We're here to make sure you get the best solution for your water level monitoring needs.
References
- Manufacturer's manual for the Capacitive Water Level Gauge
- General knowledge about PVC tank installations and electrical connections