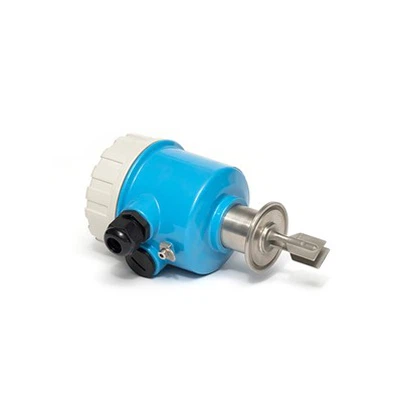

How to install a capacitive water level gauge in a plastic tank?
Leave a message

Installing a capacitive water level gauge in a plastic tank is a practical solution for accurately monitoring water levels. As a supplier of Capacitive Water Level Gauges, I'm here to guide you through the process step by step.
Understanding Capacitive Water Level Gauges
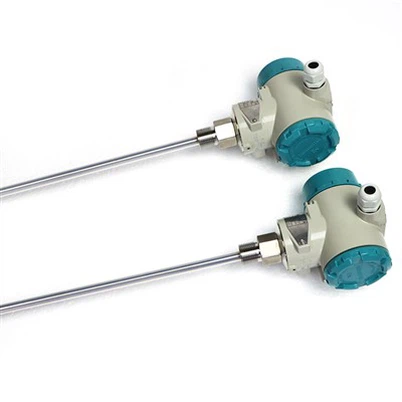
Before diving into the installation process, it's essential to understand how capacitive water level gauges work. These gauges operate on the principle of capacitance, which changes as the water level in the tank varies. The gauge consists of a probe that senses the capacitance changes and converts them into an electrical signal, which can then be used to display the water level.
Capacitive water level gauges offer several advantages, including high accuracy, reliability, and non-contact measurement. They are also suitable for a wide range of applications, from small domestic water tanks to large industrial storage tanks.
Tools and Materials Required
To install a capacitive water level gauge in a plastic tank, you'll need the following tools and materials:
- Capacitive water level gauge kit: This should include the probe, control unit, and any necessary mounting hardware.
- Drill with appropriate drill bits: You'll need to drill holes in the plastic tank for the probe and wiring.
- Screwdriver: For attaching the control unit and other components.
- Wire strippers and crimpers: To connect the wiring.
- Sealant: To prevent water leakage around the probe and wiring holes.
- Measuring tape: To ensure accurate placement of the probe.
Step-by-Step Installation Guide
Step 1: Choose the Right Location
The first step is to choose the right location for the probe. The probe should be installed vertically in the tank, preferably near the center. This ensures accurate measurement of the water level. Avoid installing the probe near the inlet or outlet of the tank, as this can cause inaccurate readings due to water turbulence.

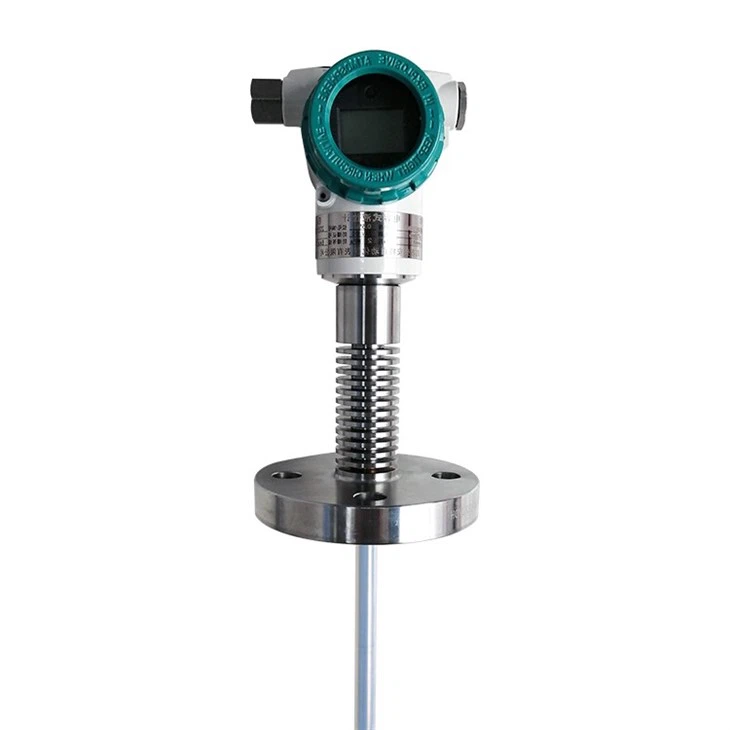
Use a measuring tape to mark the desired location for the probe on the outside of the tank. Make sure the location is clear of any obstructions and that there is enough space for the probe to be installed.
Step 2: Drill Holes
Once you've marked the location for the probe, use a drill to create a hole in the plastic tank. The size of the hole should match the diameter of the probe. Be careful not to drill too large of a hole, as this can cause water leakage.
If you're installing a wired probe, you'll also need to drill a smaller hole for the wiring. Make sure the wiring hole is located close to the probe hole to minimize the length of the wiring.
Step 3: Install the Probe
Insert the probe into the hole in the tank. Make sure the probe is inserted all the way to the bottom of the tank. If the probe has a mounting flange, use a screwdriver to attach it to the outside of the tank.
Apply a small amount of sealant around the probe to prevent water leakage. Make sure the sealant is evenly applied and that there are no gaps.
Step 4: Connect the Wiring
If you're installing a wired probe, connect the wiring to the probe and the control unit. Use wire strippers to remove the insulation from the ends of the wiring, and then use crimpers to attach the connectors.
Make sure the wiring is securely connected and that there are no loose connections. If the wiring is too long, you can trim it to the appropriate length.
Step 5: Install the Control Unit
The control unit is typically installed outside the tank. Choose a location that is easily accessible and protected from the elements. Use a screwdriver to attach the control unit to the wall or other surface.
Connect the wiring from the probe to the control unit. Make sure the connections are correct and that there are no loose wires.
Step 6: Calibrate the Gauge
Once the probe and control unit are installed, it's time to calibrate the gauge. Most capacitive water level gauges come with a calibration procedure that you can follow. This typically involves filling the tank with water to a known level and then adjusting the gauge to match the actual water level.
Follow the manufacturer's instructions carefully to ensure accurate calibration. Once the gauge is calibrated, it should provide accurate readings of the water level in the tank.
Troubleshooting Tips
If you encounter any problems during the installation or operation of the capacitive water level gauge, here are some troubleshooting tips:
- Inaccurate readings: Check the probe for any damage or debris. Make sure the probe is installed correctly and that there are no air bubbles or other obstructions around the probe. You may also need to recalibrate the gauge.
- Water leakage: Check the sealant around the probe and wiring holes. Make sure the sealant is intact and that there are no gaps. If necessary, apply additional sealant.
- No power: Check the power supply to the control unit. Make sure the power switch is turned on and that the wiring is securely connected.
Conclusion
Installing a capacitive water level gauge in a plastic tank is a relatively straightforward process that can provide accurate and reliable water level monitoring. By following the steps outlined in this guide, you can install the gauge yourself and ensure that it operates properly.
If you're interested in purchasing a Capacitive Level Gauge, we offer a wide range of high-quality products to meet your needs. Our gauges are designed for accuracy, reliability, and ease of use. Whether you're looking for a gauge for a small domestic tank or a large industrial application, we have the right solution for you.
If you have any questions or need further assistance with the installation or operation of our capacitive water level gauges, please don't hesitate to contact us. We're here to help you find the best solution for your water level monitoring needs.
References
- Manufacturer's installation and operation manuals for capacitive water level gauges.
- Industry standards and best practices for water level monitoring.