
How to install an RF Admittance Level Gauge?
Leave a message

Hey there! As a supplier of RF Admittance Level Gauges, I'm super stoked to share with you how to install one of these nifty devices. RF Admittance Level Gauges are amazing for accurately measuring the level of all sorts of substances, whether it's liquids, solids, or even some tricky mixed materials. So, let's dive right in!
Pre - installation Checks
Before you even think about getting your hands dirty with the installation, there are a few things you gotta check.
First off, make sure you've got the right gauge for your needs. Consider factors like the type of material you'll be measuring (is it a liquid, a powder, or something else?), the temperature and pressure conditions of the environment, and the size of the container. You don't want to end up with a gauge that's too small or not built to handle the conditions.
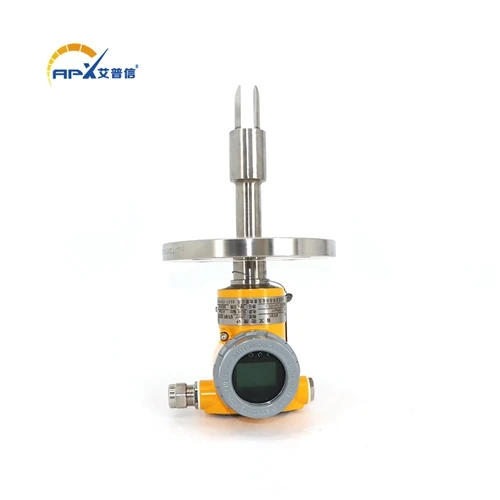
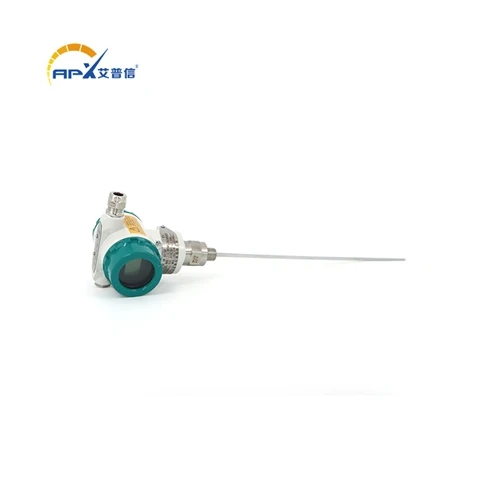
Next, check the components of the RF Admittance Level Gauge. Make sure all parts are included in the package. You should have the sensing probe, the transmitter, mounting hardware, and any cables or connectors. Look for any signs of damage during shipping, like dents on the probe or loose wires. If you spot anything wrong, reach out to us right away.
Choosing the Right Location
Picking the perfect spot to install your RF Admittance Level Gauge is crucial.
For liquid applications, avoid areas where there's a lot of turbulence or splashing. Turbulence can cause inaccurate readings because the gauge measures the level based on the electrical properties of the material, and all that movement can mess things up. So, try to install it in a calm part of the tank or container.
If you're measuring solids, make sure the probe isn't going to get buried under a pile of material. It should be in a position where it can sense the top surface of the solid accurately. Also, keep in mind any access points for maintenance. You don't want to install it in a place where it'll be a pain to reach later on.
Mounting the Sensing Probe
Once you've found the ideal location, it's time to mount the sensing probe.
Start by drilling a hole in the tank or container according to the specifications provided with the gauge. The size of the hole is important, so double - check it. Then, insert the sensing probe through the hole. You'll usually use a flange or a threaded connection to secure it in place. Make sure it's tightened properly, but don't over - tighten as you could damage the probe or the tank.
If you're using a flange, align it carefully with the hole and use the appropriate bolts to attach it. Tighten the bolts evenly to ensure a good seal. For a threaded connection, use a wrench to turn the probe gently until it's snug. Just be careful not to cross - thread it, or you'll have a real headache on your hands.


Connecting the Transmitter
After the probe is in place, it's time to connect the transmitter.
The transmitter is what takes the signal from the probe and converts it into a readable level measurement. First, locate the connection points on the transmitter and the probe. There will usually be specific terminals for the power supply, the output signal, and the connection to the probe.
Connect the cables according to the wiring diagram provided. Make sure you're using the right gauge of wire for the power and signal connections. Loose or incorrect connections can lead to inaccurate readings or even damage to the gauge. Once the cables are connected, secure them with cable ties or clips to prevent them from getting tangled or pulled out.
Calibration
Calibration is a key step in getting accurate readings from your RF Admittance Level Gauge.
Most modern gauges have a built - in calibration procedure that's relatively easy to follow. First, make sure the tank or container is empty. Then, use the calibration settings on the transmitter to set the zero point. This tells the gauge what "empty" looks like.
Next, fill the tank to a known level. It could be a certain percentage of its capacity or a specific volume. Use the calibration settings again to set the span point, which represents the full - level measurement. Some gauges may require multiple calibration points for more accurate results, especially if you're dealing with non - linear materials.
Testing and Troubleshooting
Once you've completed the installation and calibration, it's time to test the gauge.
Start by powering on the gauge and checking the display. You should see a reading that corresponds to the actual level in the tank. If the reading is way off or there's no reading at all, don't panic. First, check all the connections to make sure they're secure. Loose wires are a common culprit for problems.
If the connections are fine, check the calibration settings. Maybe you made a mistake during the calibration process. You can always re - calibrate the gauge if needed. If you're still having issues, that's where we come in. Just give us a shout, and our team of experts will be happy to help you figure it out.
Additional Resources
If you're interested in other types of level measurement devices, we've got some great options. Check out our Capacitive liquid level sensor for continuous measurement of liquid level. It's a great alternative for continuous liquid level monitoring. We also have an Oil - water Interface Meter that's perfect for separating and measuring oil and water levels. And if you're looking for a Chinese factory manufacturing capacitor level gauge, take a look at our Chinese factory manufacturing capacitor level gauge.
Wrapping Up
Installing an RF Admittance Level Gauge might seem a bit daunting at first, but if you follow these steps, you'll have it up and running in no time. Remember, if you have any questions or run into any problems during the installation process, we're here to help. We've got a team of experienced technicians who can guide you through every step.
If you're in the market for an RF Admittance Level Gauge or any of our other level measurement products, don't hesitate to reach out. We offer high - quality products at competitive prices, and we're committed to providing excellent customer service. Whether you're a small business or a large industrial operation, we've got the right solution for you. So, get in touch with us today to start the purchasing process and take your level measurement to the next level!
References
- Manufacturer's installation manual for RF Admittance Level Gauges
- Industry standards for level measurement device installation